Assigning Discount Codes in an Activation
- 18 Oct 2024
- Print
- DarkLight
- PDF
Assigning Discount Codes in an Activation
- Updated on 18 Oct 2024
- Print
- DarkLight
- PDF
Article summary
Did you find this summary helpful?
Thank you for your feedback
If you enabled discount codes in your Activation settings, you can access the Assign Codes Workflow step. Here, you can assign discount codes for your creators so they can view them on their Live Sites and share them while participating in your program.
You can learn more about the Assign Codes step in this article.
What You'll Need
- The Conversion Tracking module enabled in your Activation's settings with a discount code group selected. See Creating an Activation for more.
- Activated creators. Learn more with Activating Creators in Your Activation.
How to Do It
You can access this step by navigating to Program > Activation > Your Activation > Workflow > Assign Codes.

Once you've activated a creator and accepted their proposal, you can assign them a discount code that they can use to promote your products. You can assign discount codes, as well as manage creators in other ways, with either row actions or bulk actions. You can learn about these actions in the following sections.
Row Actions
You can use row actions to work with an individual creator.
Select a creator's name to open a side panel with details about the creator's proposal. Any tasks, products, and other details they agreed to or chose for themselves will appear in this side panel.
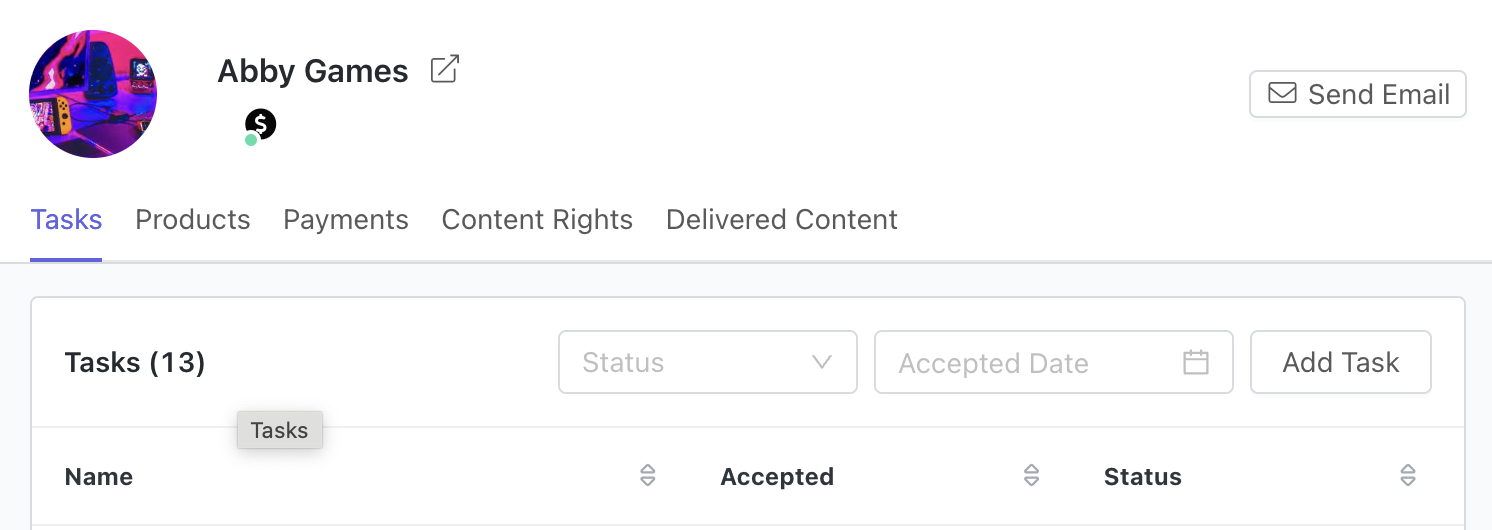
You can freely edit or browse their selections with the following tabs:
- Tasks: Review the tasks the creator's agreed to as part of their proposal. You can also add or edit tasks here. These changes will be reflected in the creator's proposal on their Live Site, but you do not need to resend a proposal for them to review.
- Products: Similarly to the Tasks tab, you can review, add, or edit product orders the creator's placed via their proposal in this tab. These changes will be reflected in the creator's proposal on their Live Site, but you do not need to resend a proposal for them to review.
- Payments: Any payments you've made to the creator will appear in this tab. You can also make payments to the creator from here.
- Content Rights: The content rights the creator agreed to will appear here.
- Delivered Content: Any delivered content the creator has submitted as part of the Activation will appear here.
Hover over a creator to display other row actions. They are:
.png)
View Content: Preview the creator's content from their connected social networks.
- Assign Discount Code: Generate a discount code for the creator.
Send email: Compose and send creators an email.
Add Note: Write a note for that creator that you or others with access to the Activation can view at any time. Creators will not see these notes.
Once you've assigned a creator a code, you can also select that code to open options to edit it. Changes made here will only affect the selected code. They are:

- Code: Customize the discount code. By default, GRIN generates each discount code based on the discount code group's code pattern settings, but you can change how it looks per creator here. The code will still be associated with the same group even if you customize it here.
- Dates: Change the active dates for the discount code.
- Payout: Change how the creator will receive payouts for conversions with the discount code.
- Group: Associate the discount code with another discount code group in your account. All conversions and reporting data for the code will switch to the new group you assign.
Be sure to select Save to finalize your changes!
Bulk Actions
If you want to manage multiple creators at once, you can use the available bulk actions. To display bulk actions, select the checkbox next to each creator you want to update.
The available bulk actions are:
.png)
- Assign Discount Code: Generate discount codes for all the selected creators.
- Change Payout: Change how the selected creators will receive payouts for conversions with the discount code.
Tags: Edit the selected creators' tags. These are custom tags you can make yourself. Learn more with Managing tags.
Sequences: Add creators to an existing email sequence. Learn more with Sequences.
Send email: Compose and send creators an email.
- Edit
Set relationship stage: Update creators' relationship stages. Learn more with Creating Relationship Stages
Set custom property: Update creators with custom properties. Learn more with Creating Custom Properties.
Change owner: Update the assigned GRIN user for the selected creators.
- More Options
Send alert: Send creators an alert. Alerts are special communications that don't affect your send limits in GRIN. You can learn how to set these up with White labeling the creator experience.
Export: Download a CSV file of the table. Only the information of the creators you've currently selected will be exported. You can customize what information is exported with the table's Columns button.
Pause content & reporting: Tell GRIN to stop tracking creators' content posts, conversions, and other metrics for this Activation.
Unpause content & reporting: Tell GRIN to resume creators' tracking content posts, conversions, and other metrics for this Activation.
Remove proposal: Permanently remove creators and their proposals from the Activation. You will need to readd creators to the Activation and resend them a proposal if you want them in the Activation later.
Was this article helpful?