- 19 Aug 2024
- Print
- DarkLight
- PDF
Creating a Landing Page
- Updated on 19 Aug 2024
- Print
- DarkLight
- PDF
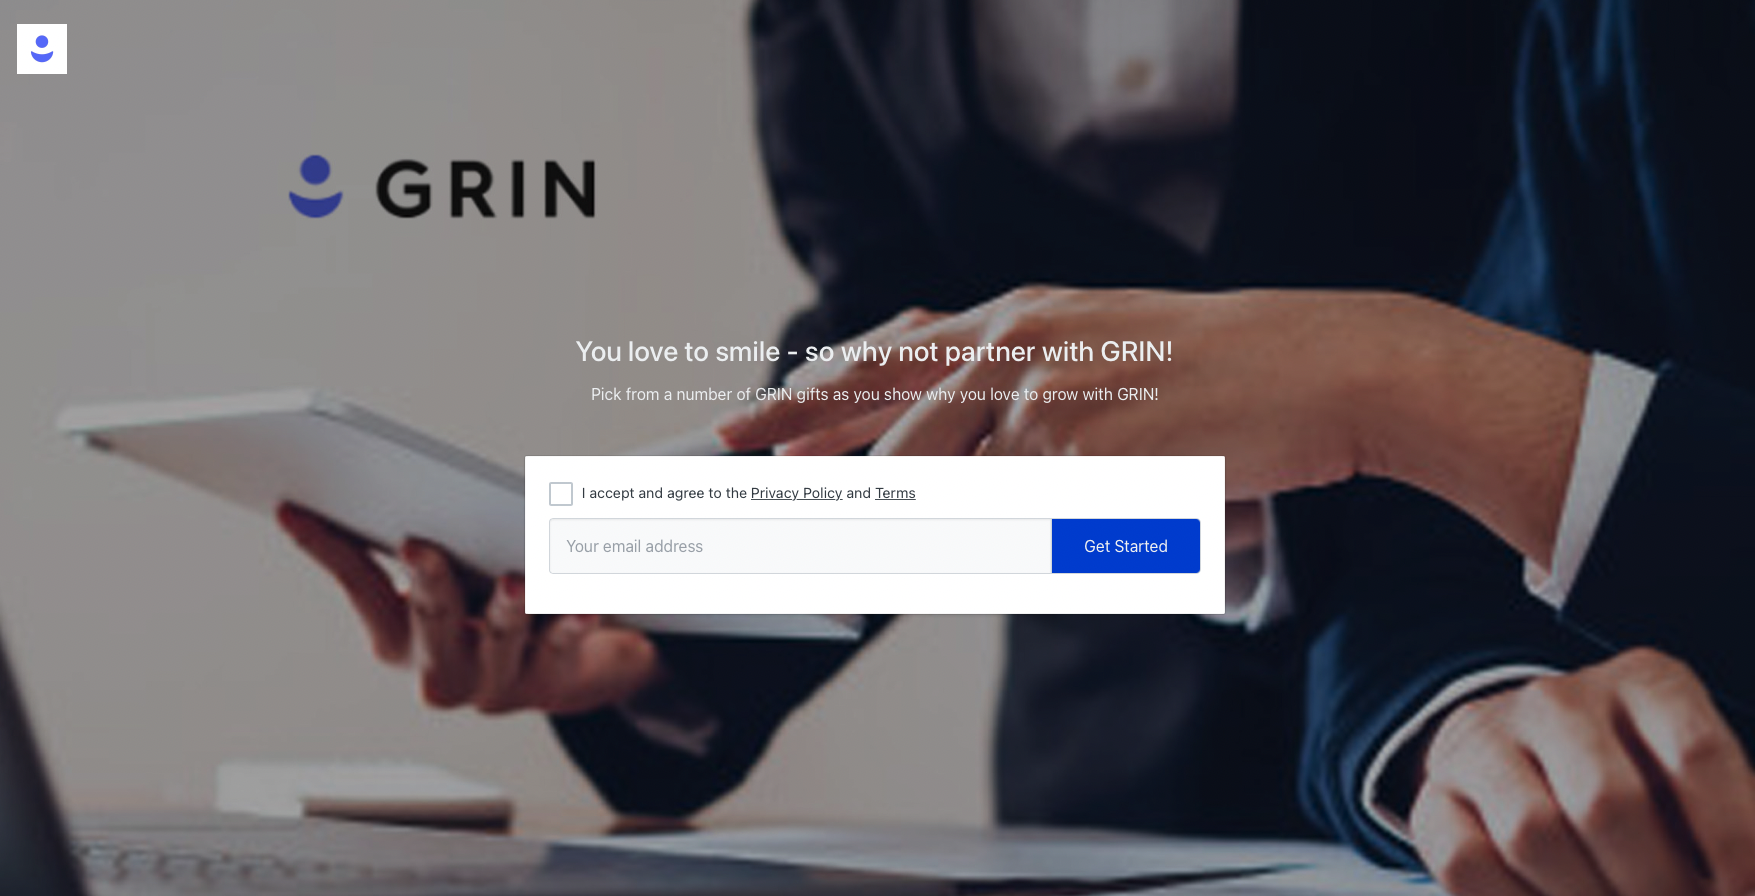
A Landing Page is a public page you can set up and display on your website to recruit potential creators who find your brand naturally. With your Landing Page, you can describe your brand goals and creator marketing programs to encourage creators to apply to your program. You can also choose to collect information about applicant creators to gauge if they’d be a good fit for your program. Landing Pages can be directly linked to an active Activation as well, so creators can immediately complete a proposal for an Activation when they apply.
What You'll Need
- An existing Brand to associate your Landing Page with. Check out our article Creating Your Brand for more information.
- If you want creators to apply to an Activation directly, you also need an existing Activation to associate with the Landing Page. Check out our article Creating an Activation for more information.
How to Do It
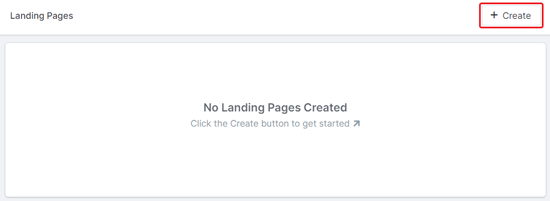
- Navigate to Recruitment > Landing Pages.
- Select + Create. This will open a new page to set up your Landing Page.

- In Step 1. Internal:
- Select a Brand.
- Assign an Owner if desired. The owner will be notified of and assigned all creators that apply through your Landing Page. If you do not assign an owner, you can set one for each applicant later.
- Enter an Internal Name for your Landing Page. This name will only be shown to users on your GRIN account.
- Select Step 2. Page Basics and complete the following fields:
- Create your Landing Page URL. You can further customize your URL by:
- Creating a new custom subdomain
- Adding an optional URL path
- Enter a Page Headline. This will be the title that appears to potential applicants on your Landing Page.
- Fill in the remaining optional fields as desired. These fields are:
- Page Description: A place to provide information about your creator marketing program
- Support Emails: A place to provide an email address where potential applicants can contact you
- First-Time Application Submitted Message: A place to provide a message after a creator applies to your Landing Page if they are not currently added in your Contacts.
- Existing Creator Found Message: A place to provide a message after a creator applies if they are already added in your Contacts.
- Program (Optional): Select if you want applicants to submit a proposal to a program as part of their application and, if so, an Activation to submit it to.
- Landing Page Logo: Upload a logo to display on your Landing Page
- Create your Landing Page URL. You can further customize your URL by:
https:// in any URLs you add in any of the text editors in Step 2. Page Basics. Otherwise, your links may not properly redirect to the correct webpage. - Select Step 3. Page Layout and select a desired layout option from the following:
- Simple Layout: GRIN's default Landing Page layout
- Customizable Layout: A layout with customizable options. These include:
- Font style
- Button Color
- Background Type
- Background Image
- Background Overlay
- Background Overlay Opacity
- In Step 4. Application Form Fields, select any form fields you want to include. These fields will appear for creators to fill out on their application. GRIN provides the defaults for Email Address, First Name, and Last Name. You can also select any custom properties you’ve created. Visit our help page on Managing Custom Properties to learn more about custom properties.
You can select and drag the two lines next to selected form fields to arrange them in the order you want them to appear on your landing page. You may also require creators to fill out a field by checking the Required box next to each field.
- Select Step 5. Email settings to enable Smart Actionsfor your Landing Page. Smart Actions are automatic events that can help run your program. Toggle on each action that you want to use. They are:
- Notify applicants when accepted: After you accept an applicant and promote them to either a prospect or creator, they’ll receive an email notifying them that they were accepted. When you enable this, you also need to provide an email template GRIN can use to send the email.
- Notify applicants when rejected: After you reject an applicant, GRIN will automatically send an email to that creator letting them know. When you enable this, you also need to provide an email template GRIN can use to send the email.
- Select Step 6. Social Networks. You can enable and select which social media accounts you’d like the creator to connect with during the application process. If you don't want creators to log in to your accounts, you can skip this step.
- Select Step 7. Publish Page, and select Yes to display your Landing Page on your Landing Page URL.
- Select Save. This will publish your Page.
Your Landing Page should now be published on your Landing Page URL and open for applications from creators! Once you receive an application, the creator will appear as an applicant in your Contacts > Applicants.


