- 05 Feb 2024
- Print
- DarkLight
- PDF
Customizing Account Settings
- Updated on 05 Feb 2024
- Print
- DarkLight
- PDF
You can access your account information and settings at any time by selecting your profile picture from the main navigation menu, then selecting Settings from the links that appear.

Depending on your user permissions, some of the account settings below may not be available.
Profile
Within Profile, you can add/change your profile photo, update your email address, phone number, name (first and last), and time zone. Select the Update Profile button at the bottom of the page to save any profile updates.
It is important to update the time zone accurately, as that will be the time zone by which all conversions and reporting data will display. If you notice any difference between your ecommerce account's reporting and GRIN make sure to check the time zones match.
Security
Within Security, you are able to update your password, security settings, and request for data deletion.
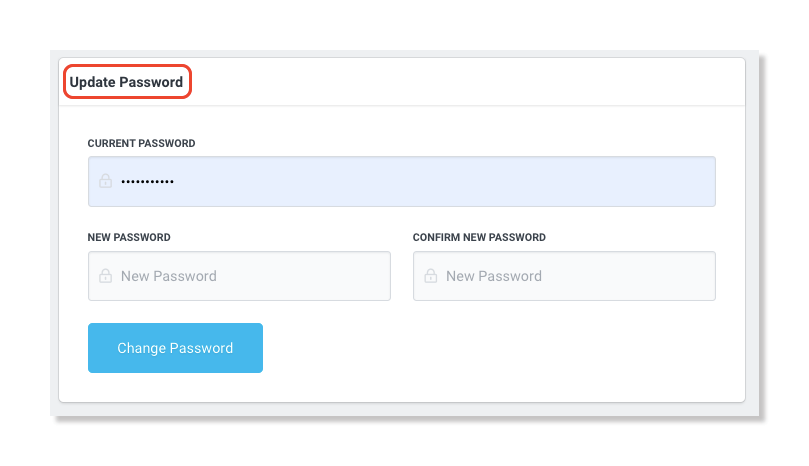
Update Password
Select the Change Password button at the bottom of the page to save the password change.
Influential Customer Data Import
This controls if creator data is automatically imported from your ecommerce stores. This imported data will show up in your Contacts.
.png)
Two-Factor Authentication
Two-Factor Authentication settings adds security for your account, or allow a one time login for a user. You can read more about this security option in our article Enabling Two-Factor Authentication.
.png)
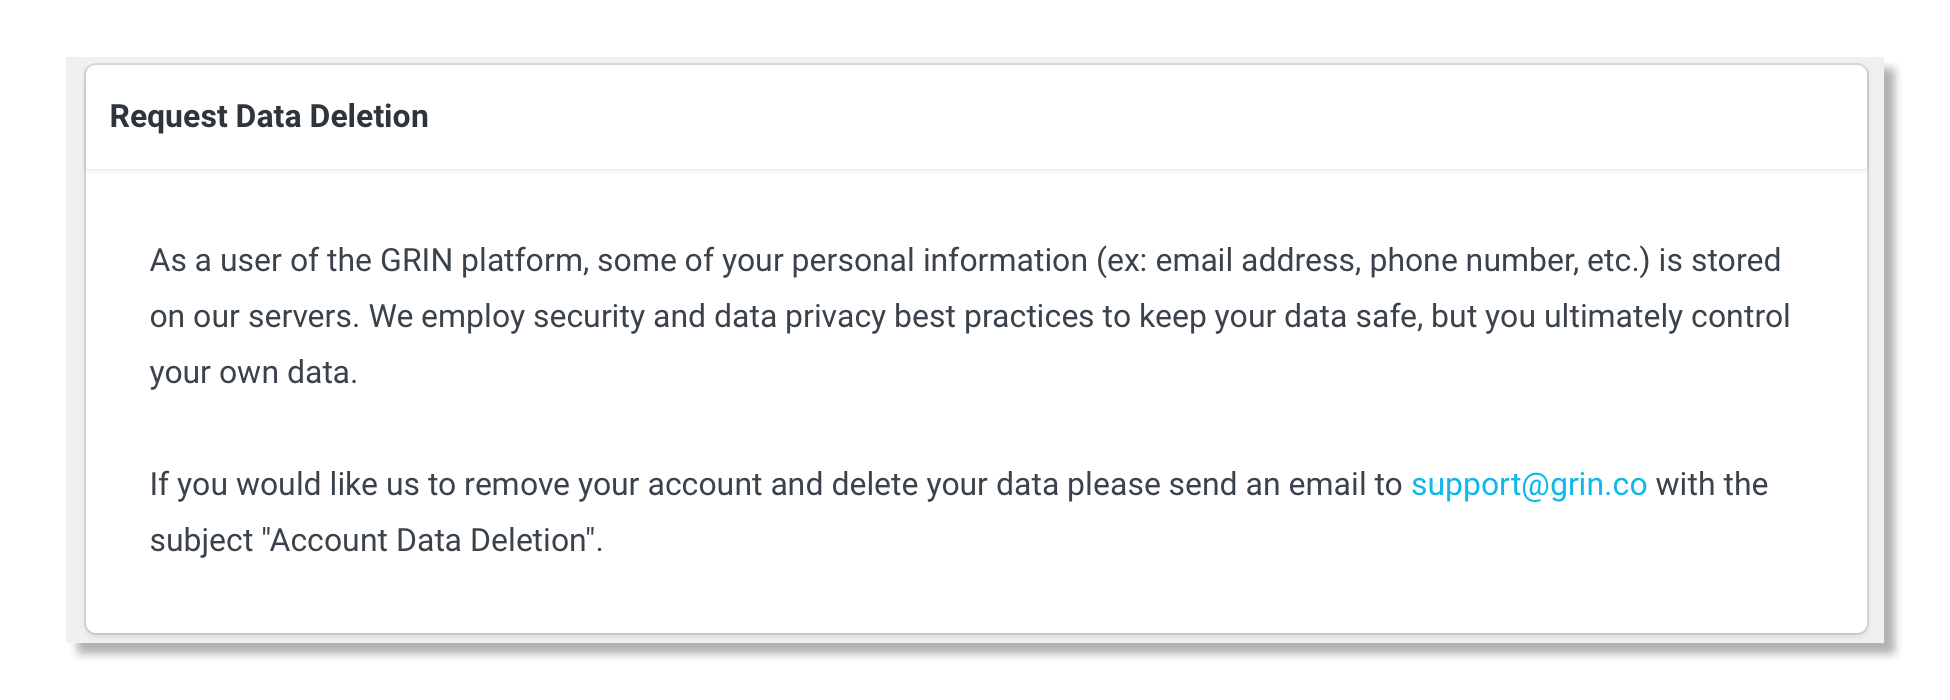
Request Data Deletion
In order to remove data from the GRIN platform, please send an email to support@grin.co with the subject "Account Data Deletion".
Integrations
Within Integrations, you can coordinate your email, API, and affiliate programs to work within GRIN.
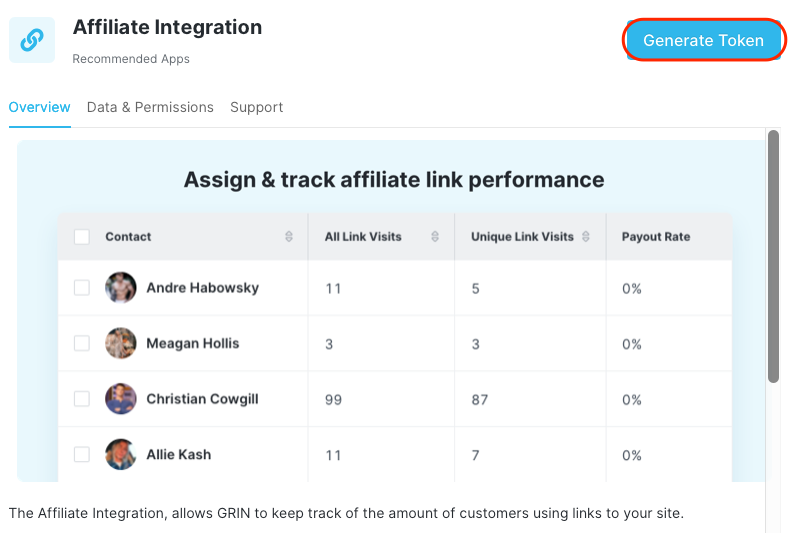
Affiliate Integration
Within Affiliate Integration, you can allow GRIN to track the amount of customers using links to your site. Select the Generate Token button and follow the steps to integrate the affiliate link and set up tracking conversions.
The analytics collected provides creator sales insights by creators so commissions can be paid out correctly.
Email Integration
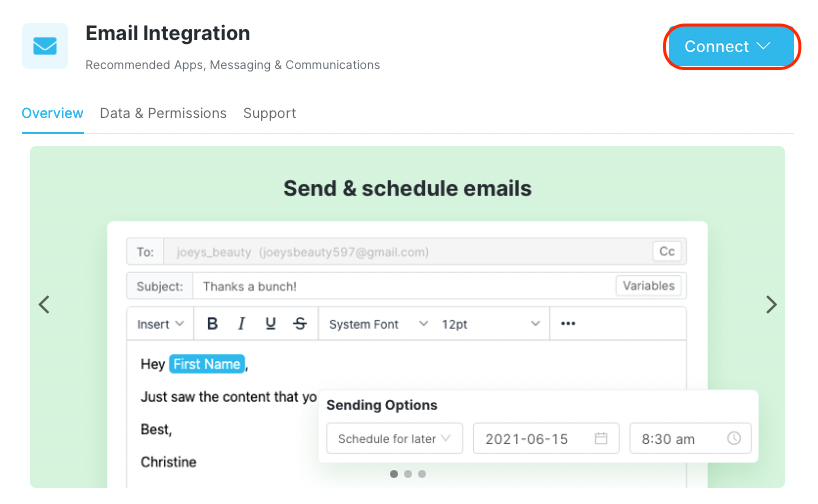
Within Email Integration, you are able to sync your email, schedule sending, and create your email signature. This allows you to send emails directly within GRIN without having to leave to another email program. If you'd like to learn more about Email Integrations and what permissions GRIN needs, please visit Integrating Your Email.
API Integration
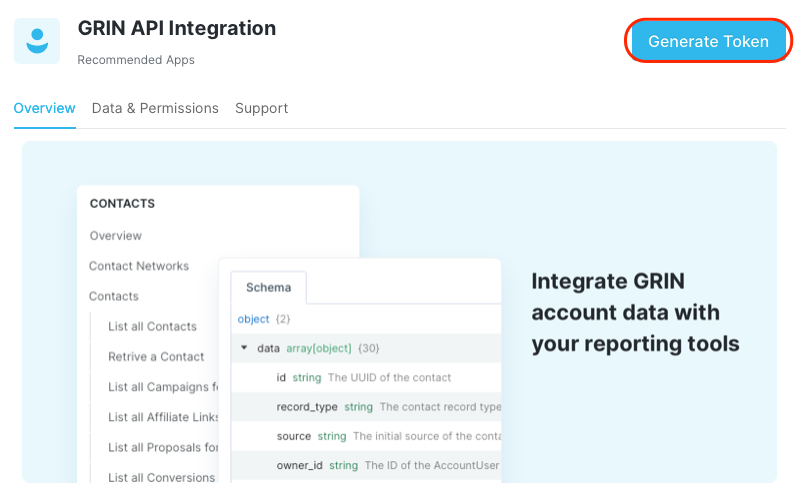
The API integration allows you to access your program data via Grin's REST API. The Grin API is organized around REST, has predictable resource-oriented URLs, returns JSON-encoded responses, and uses standard HTTP response codes and authentication.
Please refer to our documentation for detailed information about API Introductions for more information.
Notifications
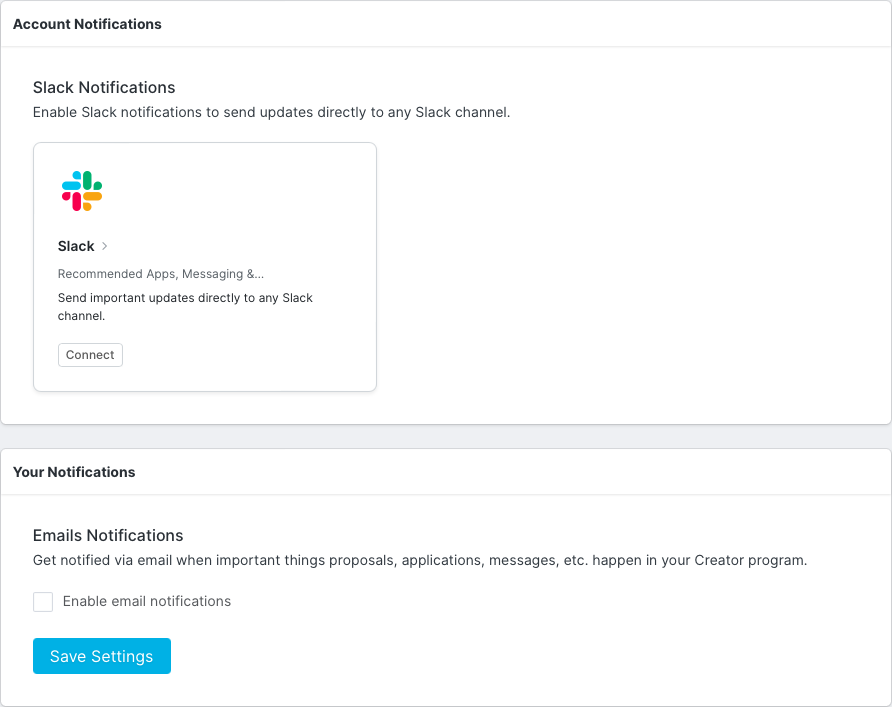
Enable notifications for new proposals, applications, messages, etc. via Slack or Email.
Insights
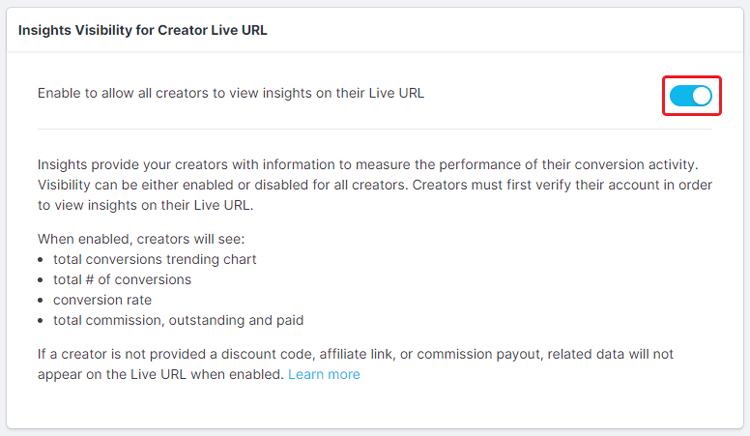
Enable the Insights tab on creators’ Live URLs, which displays data and metrics about creators’ conversion performance. For more information about the Insights tab, see our help article Managing Insights.
Creator Experience
Update the experience your creators have with your brand here. This will give your brand custom domains and replace GRIN branding with your own.
GRIN Platform
Set up platform white labeling by changing the app URL domain and page title within the browser tab you and your clients will use to access the platform. Go a step further and update the Login Logo, App logo, and Favicon seen when accessing and using GRIN to your Brand's logo and icons.
Company
Within Company, update your company name and company website. Select the Update Company button to save your updated company information.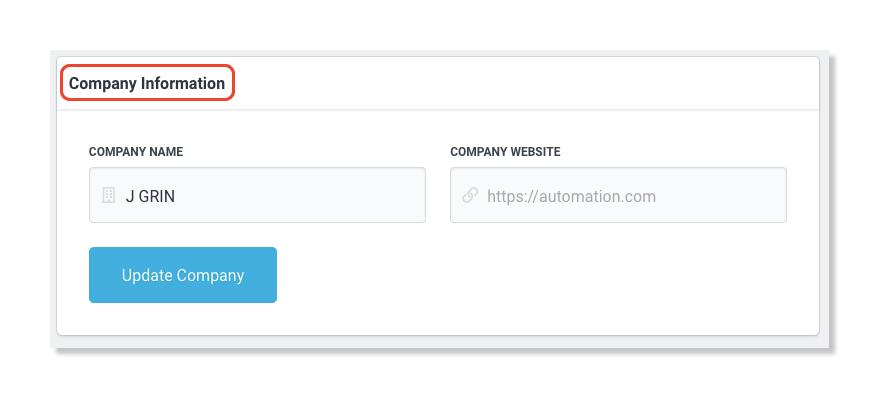
Teams
Within Teams you are able to edit your Brand's team and manage users.
Create a new team by selecting + Create in the top right corner of the page. Enter a team name and select the Create Team button to create your team. Edit a team by selecting Edit in the Actions column next to the team you’d like to edit. Manage users by selecting Users in the Actions column.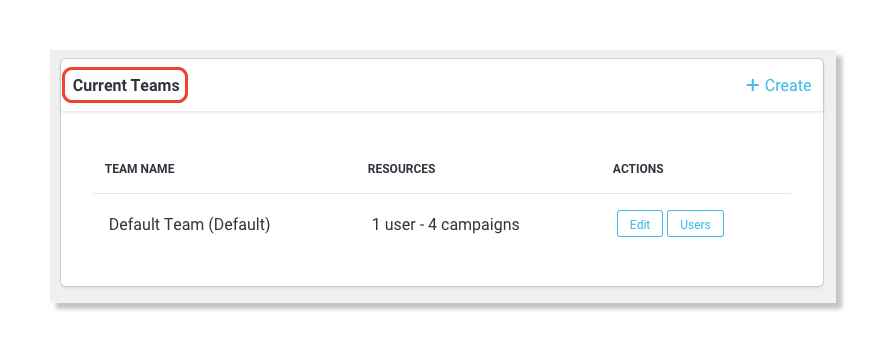
Users
Within Users, invite new users, view information about current users, and view pending invitations.
Invite new users by selecting Invite Additional User or add a client by selecting Create New Client Account.
Fill out their email address and select which team you’d like them on. Select the Send Invitation button to send your invite.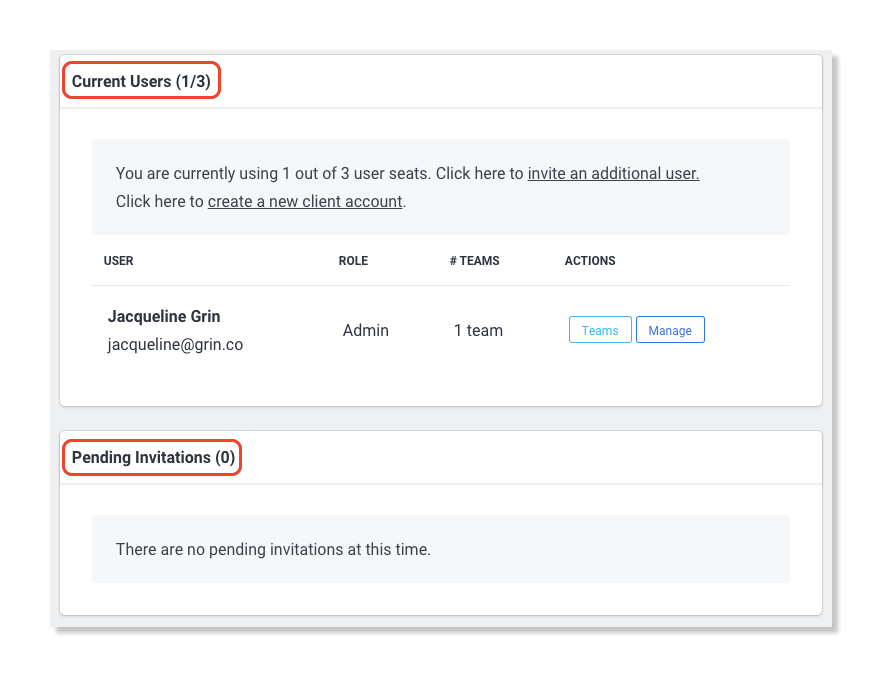
Domain Management
Within Domain Management, create a new domain name visible to influencers when they access their Live URL.
Enter your Custom subdomain name and select the Create button.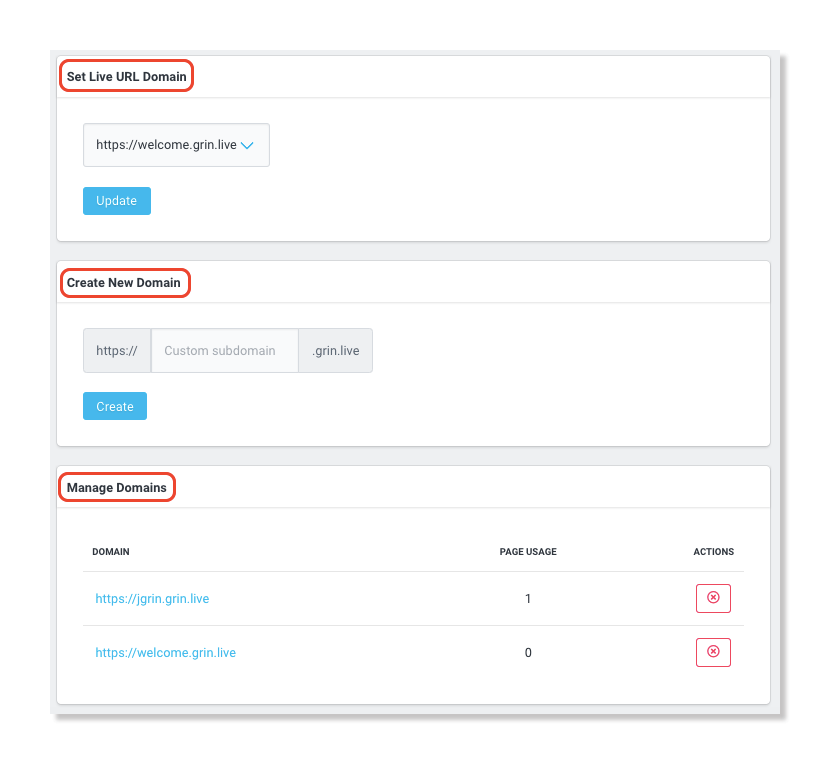
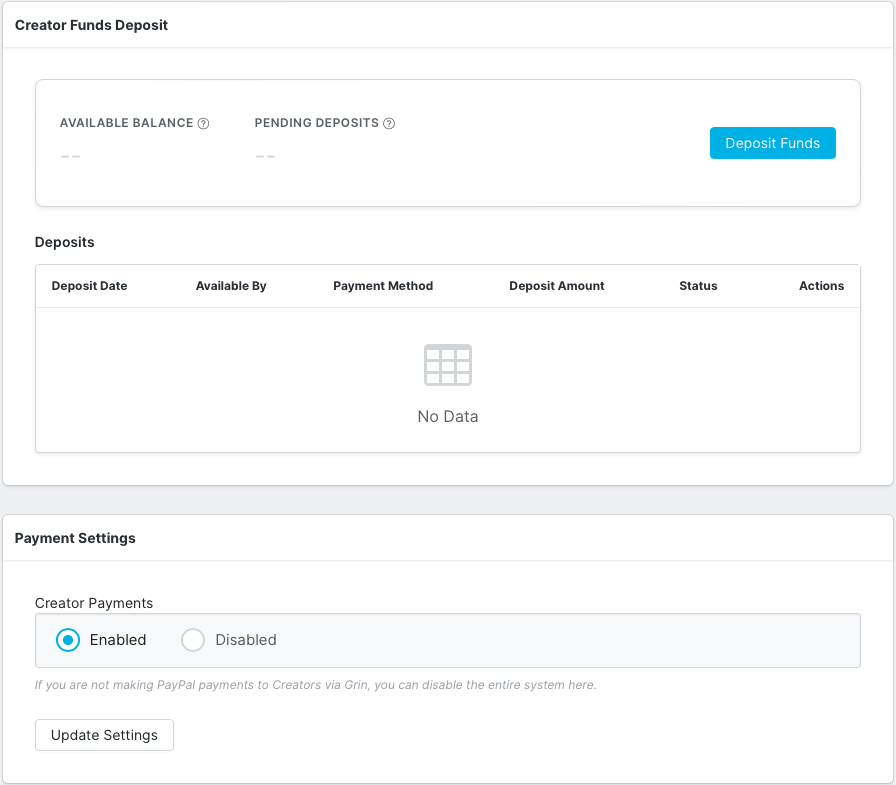
Creator Funds Deposit
Within Payment Settings, enable or disable the ability to make payments through PayPal to influencers.
View your current account funds and add additional funds by selecting the Deposit Funds button. Choose a payment method from the drop down menu, enter an amount, and select the Add Funds button.
If you will not be paying influencers through GRIN, then you can disable payments.
Subscription
Within subscription, view the current plan including your plan details and plan resources.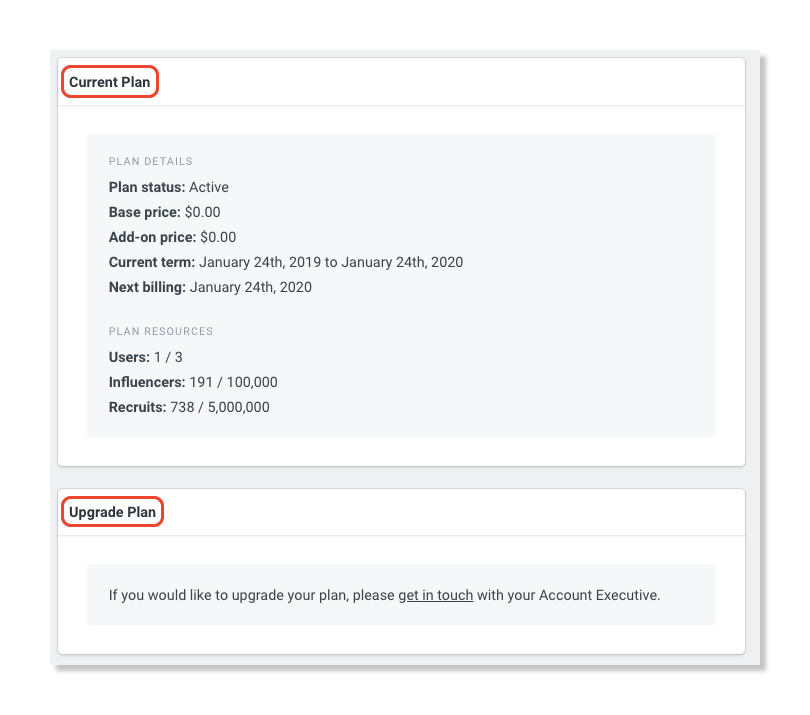
In order to upgrade your plan, get in touch with your Account Executive.


