- 13 Sep 2024
- Print
- DarkLight
- PDF
Integrating with Shopify
- Updated on 13 Sep 2024
- Print
- DarkLight
- PDF
You can integrate your Shopify store so you can create, fulfill, and track your creators’ orders from within GRIN. This is ideal for managing large numbers of orders and scaling up your creator program!
What You'll Need
- A Shopify account.
- Your Brand you want to integrate Shopify with already set up in GRIN. Click here for more information on setting up a Brand.
How to Do It
There are a few ways you can integrate with Shopify across GRIN: from the App Marketplace, from within your Brand, and from your Integrations Settings. Each method has similar steps.
Integrating from the App Marketplace
- Navigate to Account > App Marketplace. This will open the App Marketplace page.
- Find the Shopify integration by either:
- Searching “Shopify” in the search bar.
(1).png)
- Navigating to the Ecommerce App Category.
(1).png)
- Searching “Shopify” in the search bar.
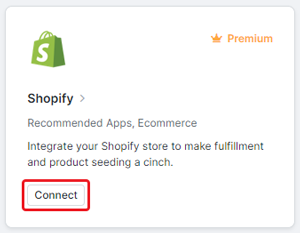
- Click the Shopify integration’s Connect button.
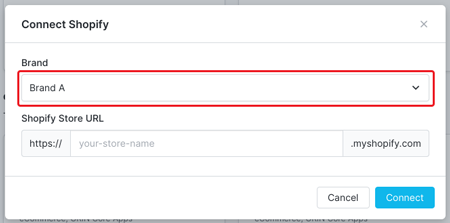
- Select your Brand you want to connect Shopify to. You cannot integrate Shopify with a store that already has a store connected to it. If you do not have any Brands created yet, you’ll be prompted to create one before connecting with Shopify.
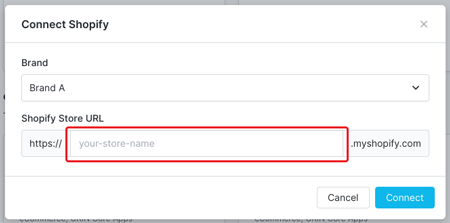
- Enter your Shopify Store URL.
- Click Connect. If you see a popup to log in to your Shopify account, complete the login process there as well.
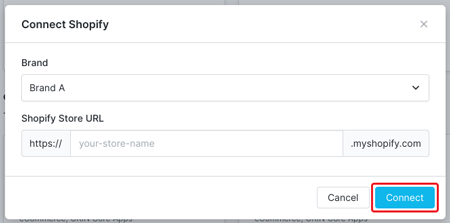
Your Shopify account should now be connected to your Brand and account.
Integrating From Your Brand
- Navigate to Brands.
- Click the Edit Brand button.
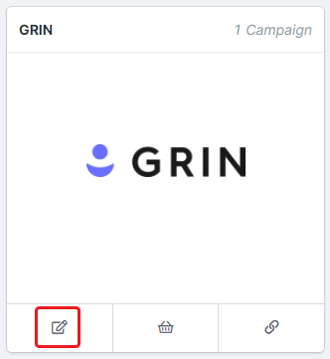
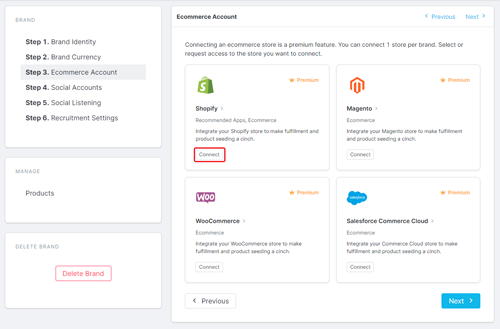
- Under Step 3. Ecommerce Account, click Connect under the Shopify logo.
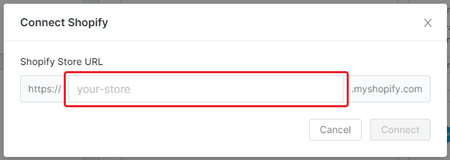
- Enter your Shopify Store URL.
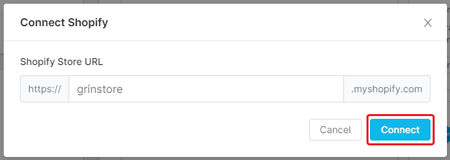
- Click Connect to be redirected to the login page on Shopify.
- Enter your email address.
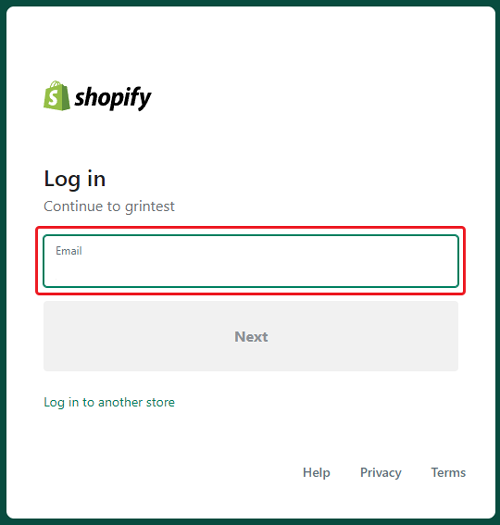
- Click Next.

- Enter your Shopify password.
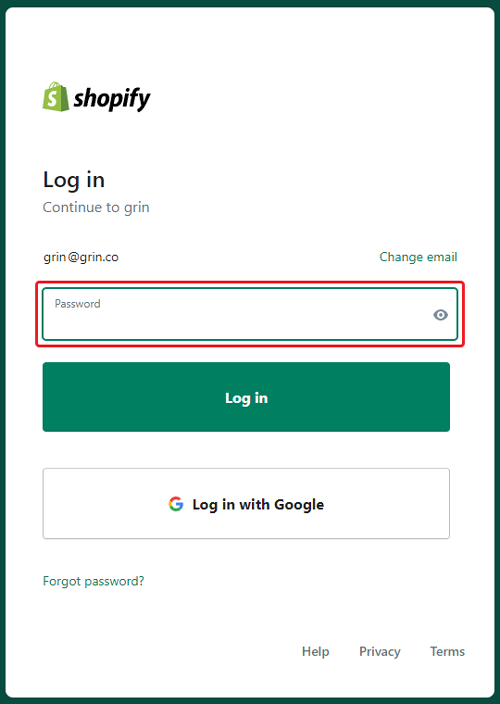
- Click Login.
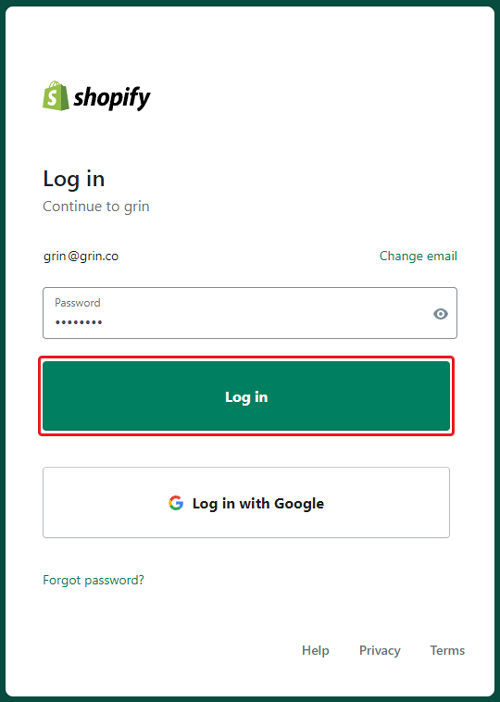
Once integrated, your Shopify store will display as a connected Ecommerce account in Step 3. Ecommerce Account.
Integrating From Your Integrations Settings
Once you’ve added Shopify as an integration on your account, you can also connect to it from your settings. To do so:
- Navigate to Account > Account Settings > Integrations. This will open your Integrations settings page with a list of your integrations.
- Click Connect on your Shopify integration. This will open the Connect Shopify modal.

- Select your Brand you want to connect Shopify to. You cannot integrate Shopify with a store that already has a store connected to it. If you do not have any Brands created yet, you’ll be prompted to create one before connecting with Shopify.

- Enter your Shopify Store URL.

- Click Connect. If you see a popup to log in to your Shopify account, complete the login process there as well.

Your Shopify account should now be connected to your Brand and account.

