- 08 Apr 2024
- Print
- DarkLight
- PDF
Setting Up a Partnership
- Updated on 08 Apr 2024
- Print
- DarkLight
- PDF
This guide will walk you through how to create a 1-on-1 partnerships with creators, so you can create custom tasks for individual creators, rather than grouping them into a program.
1. Click on Contacts and select Creators. Then, open the profile of the creator by clicking their name.
2. Scroll down to the Partnerships section and click New Partnership.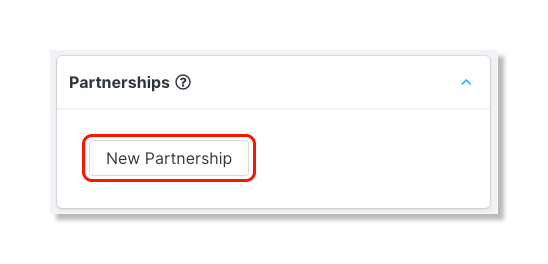
3. In Overview, select what brand the partnership is for, give the partnership an internal and external name, write up an overview, and add a budget.
4. In Schedule & Review, select a start date, how long the partnership will last, an end date, and if content is to be delivered each month.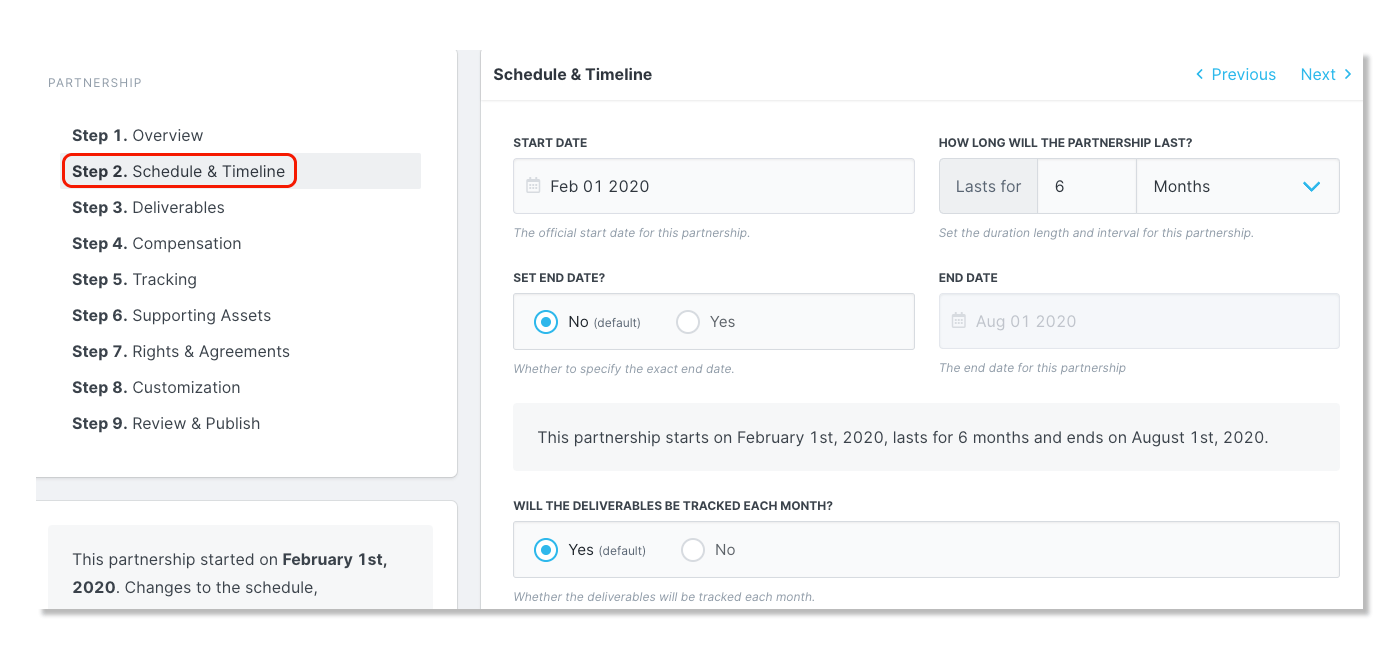
5. In Deliverables, click on Add Deliverable.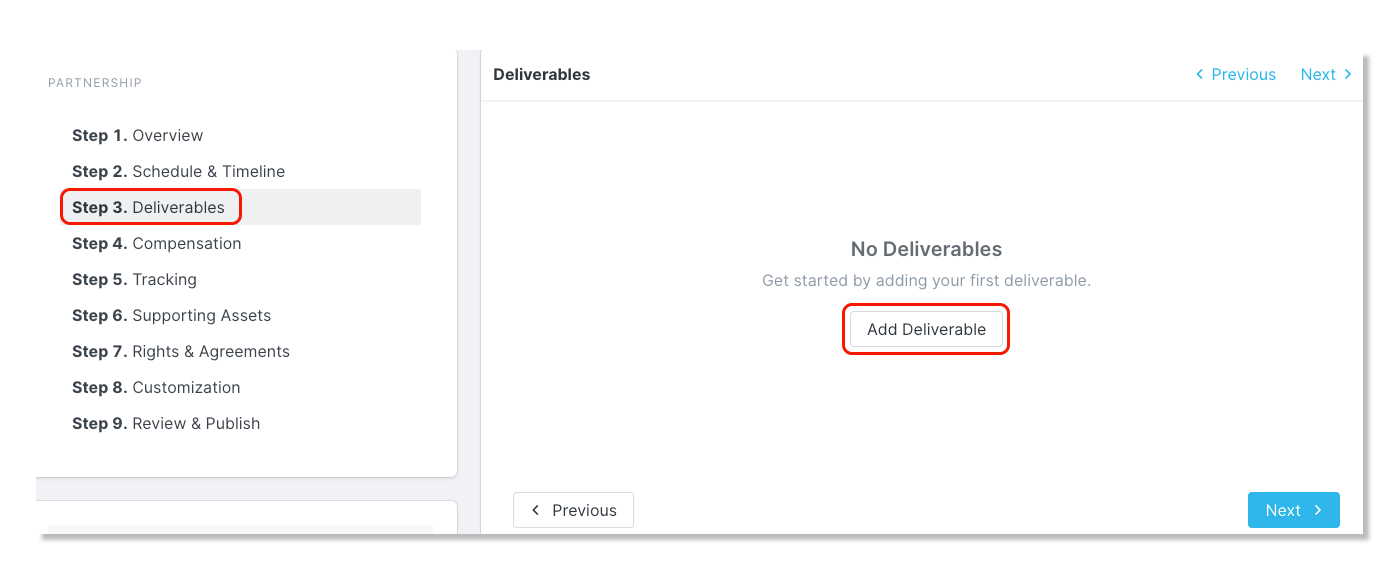
6. Select a network for the task, a media type if applicable, and a name for the task.

7. In Compensation, you will be able to give a Compensation Preview and also select the compensation method.
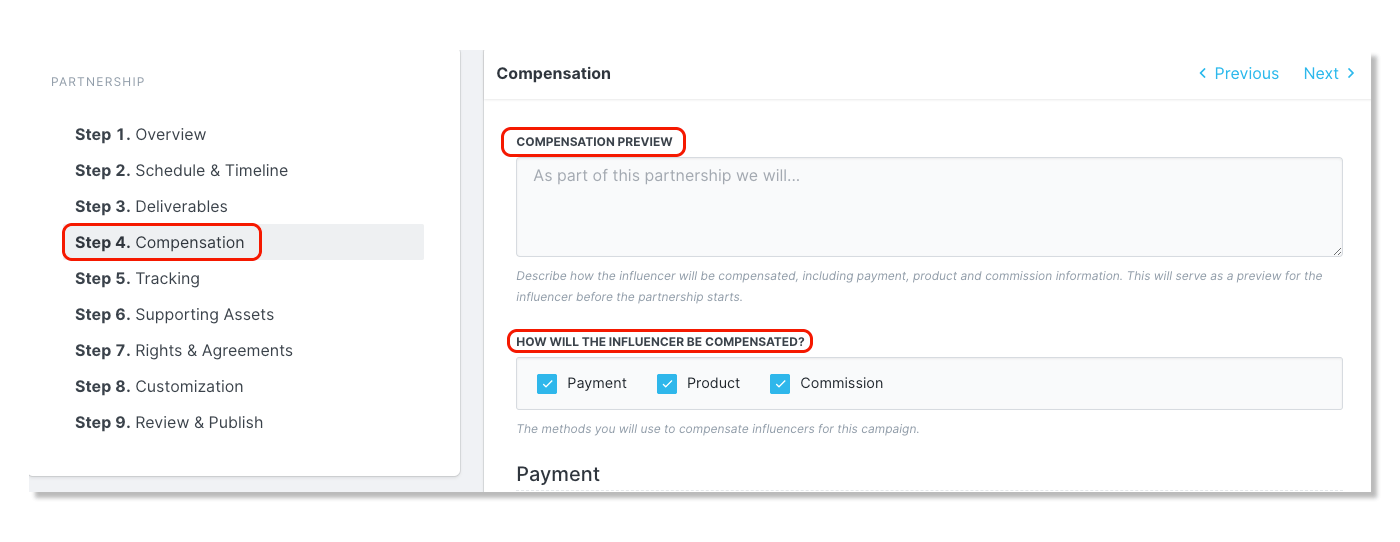
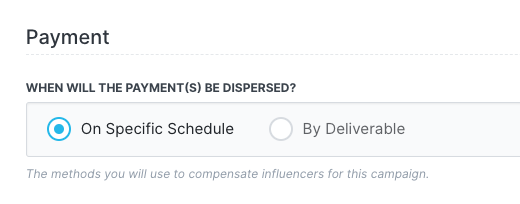
8. If you have selected Payment as a compensation method, then select how the payment will be dispersed.
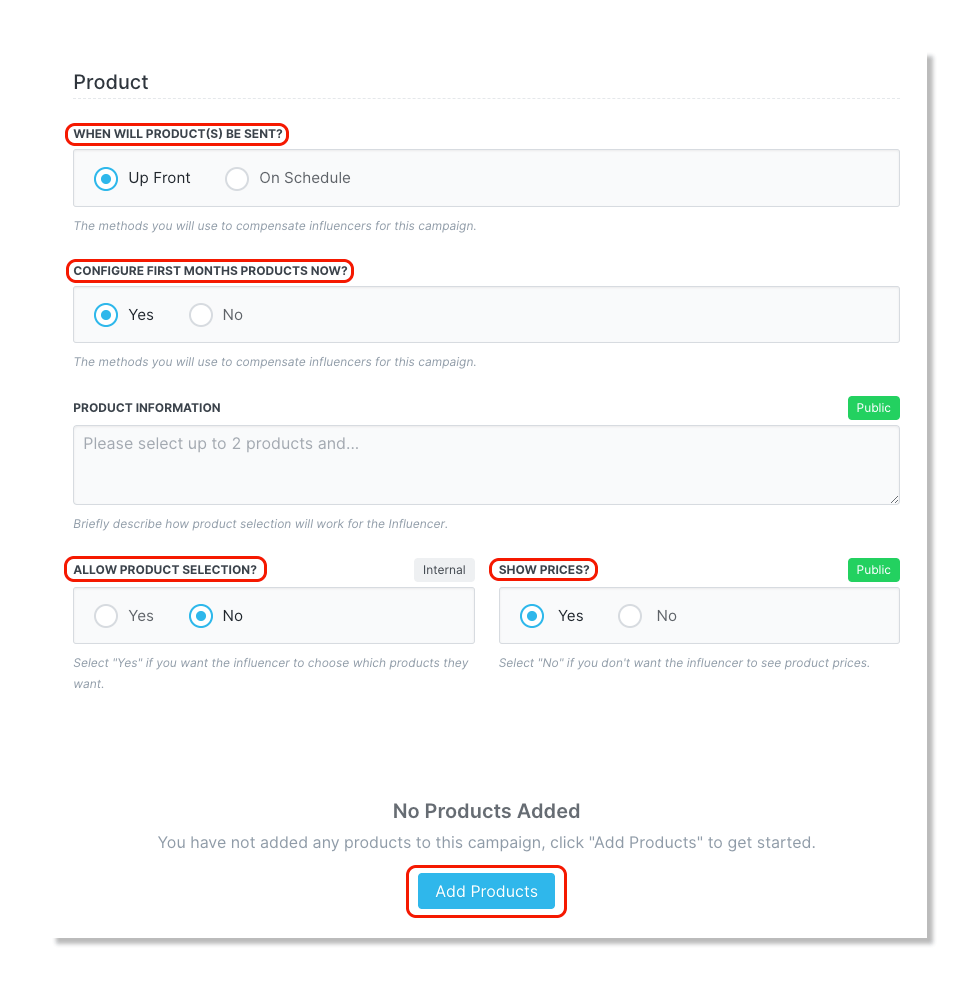
9. If you select Product as a compensation method, select when the product will be sent, if you'd like to configure the product for the first month, if you want to allow product selection, if you'd like to show the price of the products, and add products to be made available.
If you choose Yes to Allow Product Selection?, you'll also see the option to Allow Creators to Select Products from Website for Shopify checkout URLs. This option will not work for newer versions of Shopify stores. If you have a checkout URL that looks like https://<STORE_URL>/checkouts/c/<ORDER_CONFIRMATION_NUM>/information, then we recommend selecting a different method for creators to select products.
If your checkout URL looks like https://<STORE_URL>/<ORDER_ID>/checkouts/<IDENTIFIER>, then you can still use this option with your products.
10. If you select Commission as a compensation method, select the Discount Group and/or Affiliate Group you will be assigning their codes and/or links from.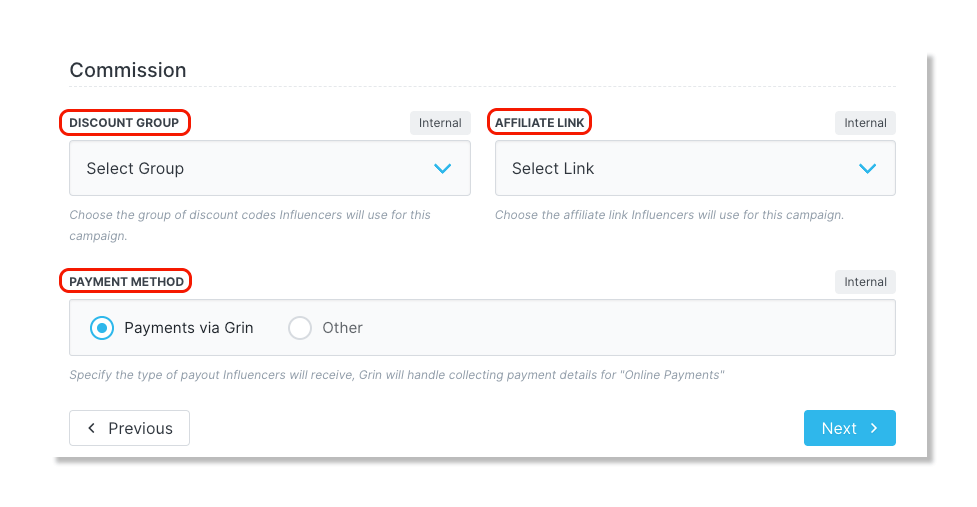
11. In Tracking, select if you'd like to allow the creator to deliver content manually, set strict content date, and set up the hashtags/mentions to track in order to pull in their content.
12. In Supporting Assets, upload any files that may be helpful for the creator during the partnership.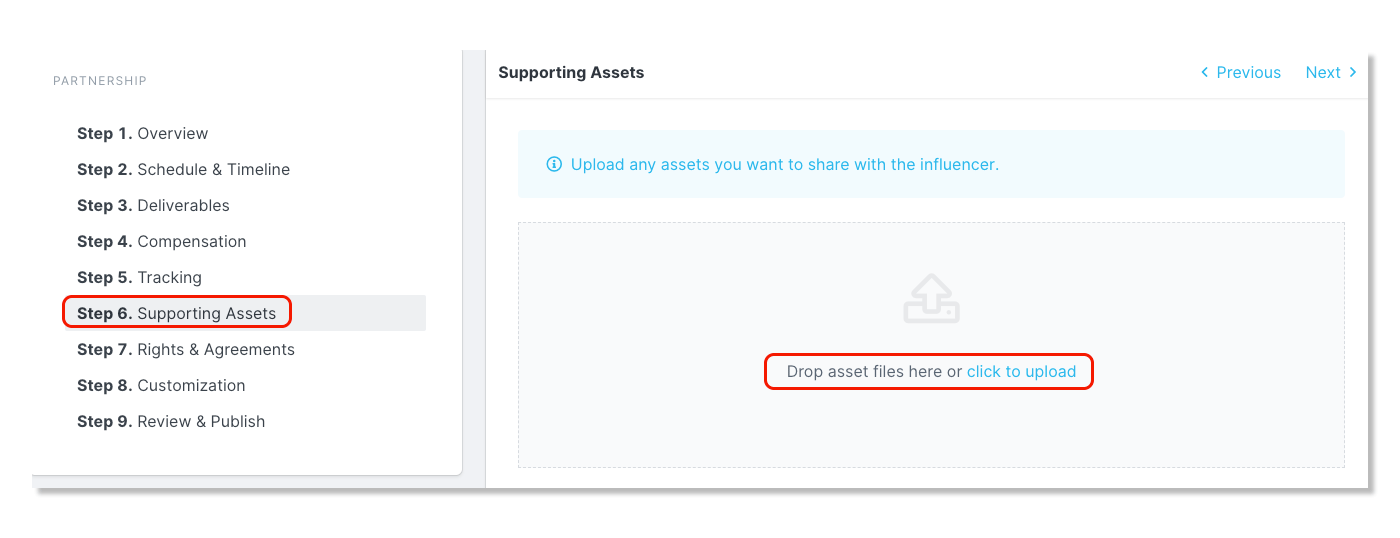
13. In Rights & Agreements, set up the terms of the partnership.
14. In Customization, you have the option to change the title of the sections within the creator partnership dashboard.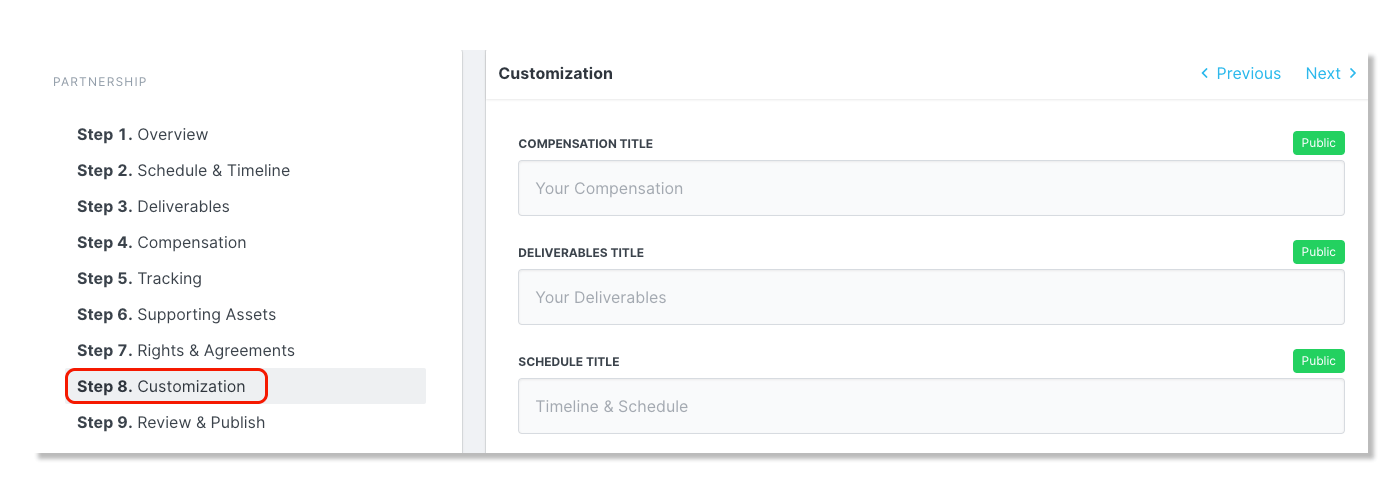
15. In Review & Publish, you will be able to review the detail of the partnership and publish it so the creator can view the details.

