- 12 Feb 2024
- Print
- DarkLight
- PDF
Uploading Products
- Updated on 12 Feb 2024
- Print
- DarkLight
- PDF
Once you've created a Brand, you can upload a CSV file of your products to it. These products will then be associated with your Brand, and you can add these products to any creator marketing programs you create in GRIN with that Brand. You can then choose which products to make available to creators added to that creator marketing program.
What you'll need
- A configured Brand. Check out our help article for more information.
- A CSV file with your list of products. We highly recommend using our CSV template to easily upload and map your CSV column labels to GRIN product properties. If you prefer to use your own, you can still map to GRIN properties, and you can always review them before finishing the upload process.
When uploading a CSV, there are a few rules to keep in mind. First, the first and second rows in your CSV file must be named Type. This means that your first column will have two "Type"s in it. Type indicates if the item in that column is a product or a variant. You must include both rows of Type even if you do not have variants. GRIN's CSV template has this set up by default.
The product must be entered in its own row and be marked with a P. If you have variants of that product, then each of its variants must be entered on its own row and be marked with V. To start another set of product variants, you must enter a new product in a blank row and then enter its variants below. Be sure to group all your variants with the appropriate product!
Next, variants must be entered in the format variant type::variant option (for example, color::blue), with two colons separating each type and option. If your product variant has two or more types, each type must be separated with a semicolon, like so: variant type::variant option;variant type::variant option (for example, color::blue;size::small).
Finally, if you want to include an image with a product, you must provide a URL of the image in a column in your CSV. GRIN will then use that URL to download that image and use it for your product. Currently, you can provide one image per product (and cannot provide an image for each product variant).
Otherwise, you can name the rest of your CSV column labels anything you like, and you can put them in any order as long as the Type column is the first one in the file.
GRIN's CSV template includes some sample rows demonstrating these rules. If you have further questions, please contact our support team.
How to do it
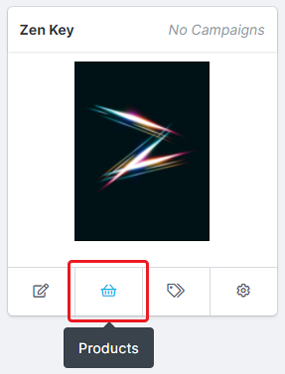
- Navigate to Brands > Products on the Brand you want to upload products to.
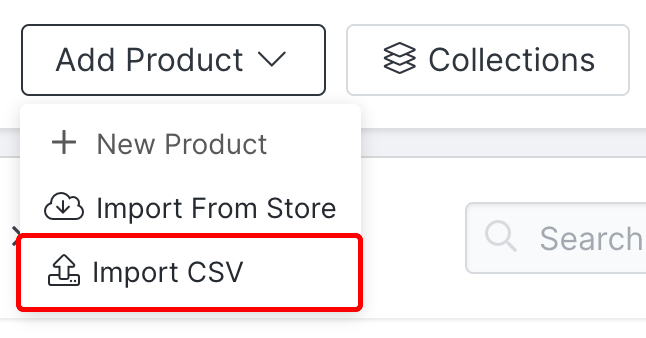
- Select Add Product > Import CSV. This will open the Import Products with CSV modal.
- If you’d like to use GRIN's CSV template and haven’t downloaded it yet, select “sample CSV template” link to do so.
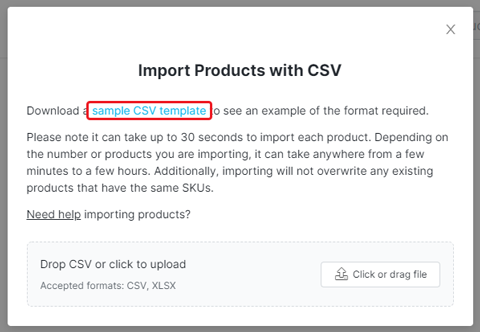
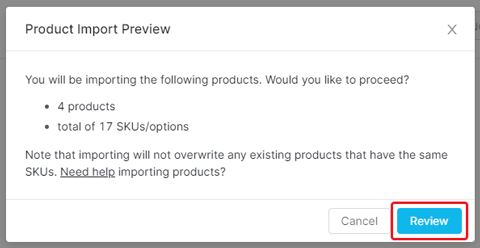
- Drag and drop or click to upload your CSV file. Once your file is uploaded, the Product Import Preview popup will appear with the number of products and product options GRIN has detected from your file.
- Review the Product Import Preview to confirm the number of products and product options is accurate, then select Review. You will be redirected to the New Product Import page.
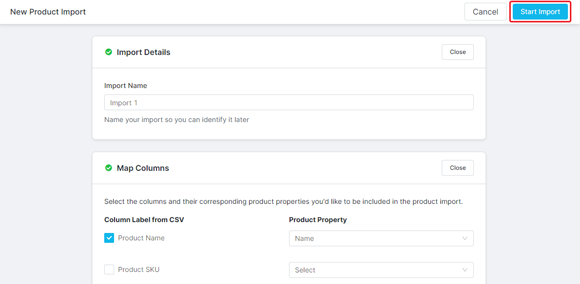
- In the Import Details modal, enter an Import Name for your import. By default, GRIN will use your CSV file’s name.
- In the Map Columns modal, select the checkbox next to each column label from your CSV that you’d like to import into GRIN. All the products and product options details in that label’s column will be imported.
- For each column label you selected, choose a Product Property to associate that column label to. These properties are GRIN defaults and what your CSV column labels will appear as when you view your products and product options within GRIN.
.png)
- Select Start Import.
Your products should now be imported from your uploaded CSV file. If you have a large number of products in your CSV file, this process may take up to several hours to complete, but GRIN will complete the import in the background and notify you when it’s done. This means that you can freely navigate and use other parts of GRIN while your products are importing. Once your import is finished, you’ll be able to make your products available in your creator marketing programs for creators to select and receive.

