- 13 Sep 2024
- Print
- DarkLight
- PDF
White Labeling the Creator Experience
- Updated on 13 Sep 2024
- Print
- DarkLight
- PDF
You can white label your Creator Experience so that any creator that works with you or applies to you will see your business’ branding on creator-facing GRIN pages. This is great for maintaining consistency and trust between you and the creators familiar with your brand.
There are a few ways you can white label the Creator Experience. All of these are optional, and you can white label as few or as many as you need. These options are:
- Creator Domain: The URL domain for a creator’s Live URL.
- Page Title: The title of a creator’s Live URL page in the browser.
- Email Alerts: The email domain when sending email alerts to creators.
You can learn more about how to white label each of these below.
What You'll Need
- If you want to white label a Creator Domain or Email Alerts, you’ll need to have a new subdomain ready. This subdomain should not be active elsewhere.
If you’re interested in white labeling your Creator Domain or Email Alerts, we highly recommend your web admin or another individual with access to your DNS settings for your website completes the processes below.
How to Do It
To access your Creator Experience white labeling settings, navigate to Account > Settings, then select Creator Experience under White Labeling.
From here, you can white label the various settings available in Creator Experience using the steps below.
White Labeling the Creator Domain
In order to white label your creator domains on creators' Live Sites, you’ll need to work directly with GRIN’s Support team.
- Contact GRIN support through your dedicated CSM with the new subdomain you want to use to white label your creator domain. The Support team will generate two CNAME records with your provided subdomain.
- Put the first set of CNAMEs into your site’s DNS and confirm they are working.
- Put the second set of CNAMEs into your site’s DNS.
- In your Creator Experience settings, navigate to Creator White Labeling setting.
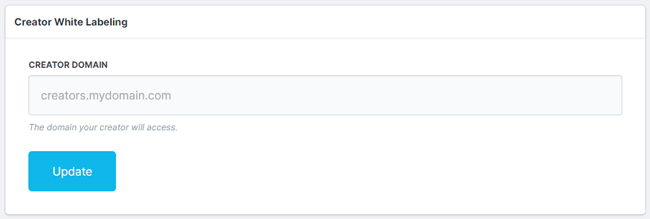
- In the Creator Domain field, enter the subdomain you provided to the Support team in Step 1.
- Select Update.
Your Live URL domain should now be white labeled.
You can white label multiple domains, including domains for affiliate links, in addition to Live Sites if desired. If you would like to white label multiple domains, contact the Support team for further assistance.
White Labeling the Page Title
- Navigate to the Page Title setting.
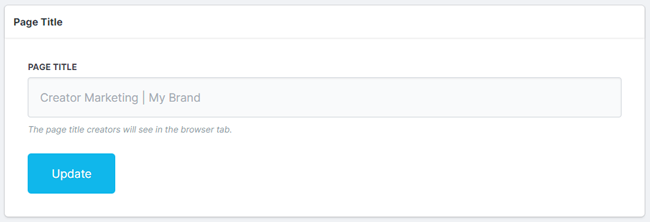
- In the Page Title field, enter your desired page title.
- Select Update.
Your Live Site page titles should now be white labeled, and creators will see your custom page title in their browsers when they navigate to their Live URLs.
White Labeling Email Alerts
- Navigate to the Email Alerts setting.
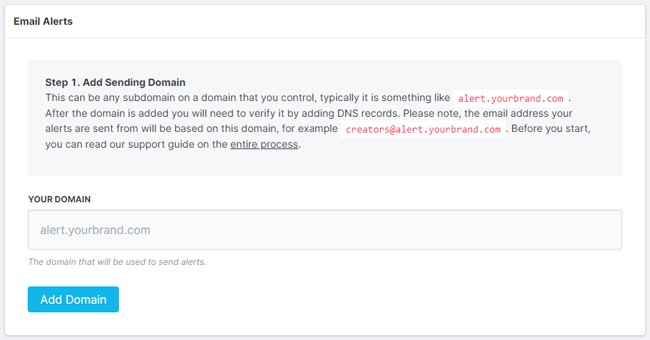
- In the Your Domain field, enter your desired email domain.
- Select Add Domain. This will generate DNS records.
- Add the appropriate DNS records to your domain depending on your provider.
- Select Check DNS Records to verify your DNS records are working.
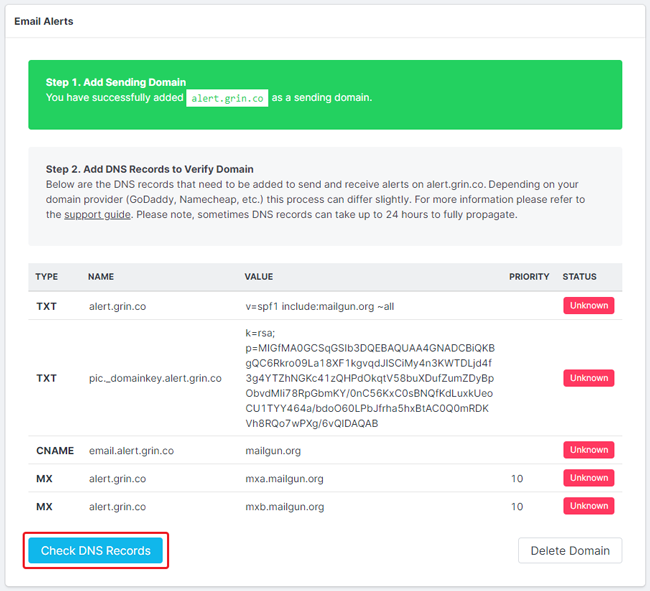
It may take up to 24 hours for your DNS records to fully propagate.
- Once your records are successfully checked, enter your brand’s desired Name, Email Address, and Reply-To Email Address.
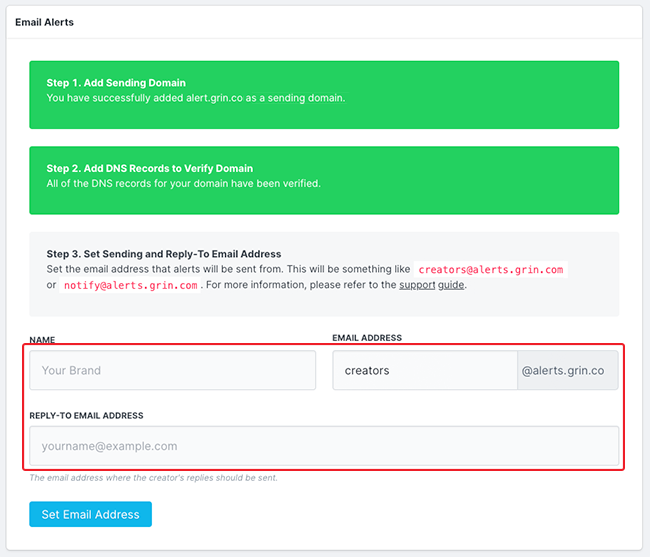
- Select Set Email Address.
Your email domain should now be white labeled and will appear with your white labeled domain when creators receive email alerts from you.

