Creating Custom Properties
- 19 Aug 2024
- Print
- DarkLight
- PDF
Creating Custom Properties
- Updated on 19 Aug 2024
- Print
- DarkLight
- PDF
Article summary
Did you find this summary helpful?
Thank you for your feedback
While GRIN comes with some properties by default, like creators' first names or emails, you can also create Custom Properties to further organize your creators. Custom Properties are unique snippets of information that you can ask your creators so you can learn more about them. These are created by you and shown as questions creators can answer while applying to your programs, such as their birthdays, favorite food, or others that are relevant to your program.
How to Do It
- Navigate to Contacts > Creators or Contacts > Prospects.
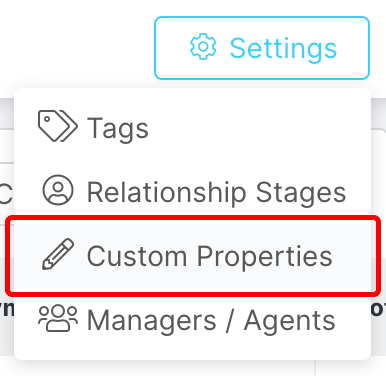
- Select Settings > Custom Properties.
 Select Custom Properties from the Settings dropdown menu.
- Select + Create.
.png) Select + Create.
Select + Create.- In Step 1. Property Details, complete the following fields:
- Internal Label: The name of your property to display internally in your GRIN account. This name will not be the one that is displayed to creators.
- Creator Label: This is the name of the property that will be displayed to creators when they fill out their proposal. If you don't provide a label here, then this will default to the name you provided in the Internal Label field.
- Creator Description: Add any information you'd like to tell creators about this property when they fill it out.
- Select Type 2. Type & Options and complete the following fields:
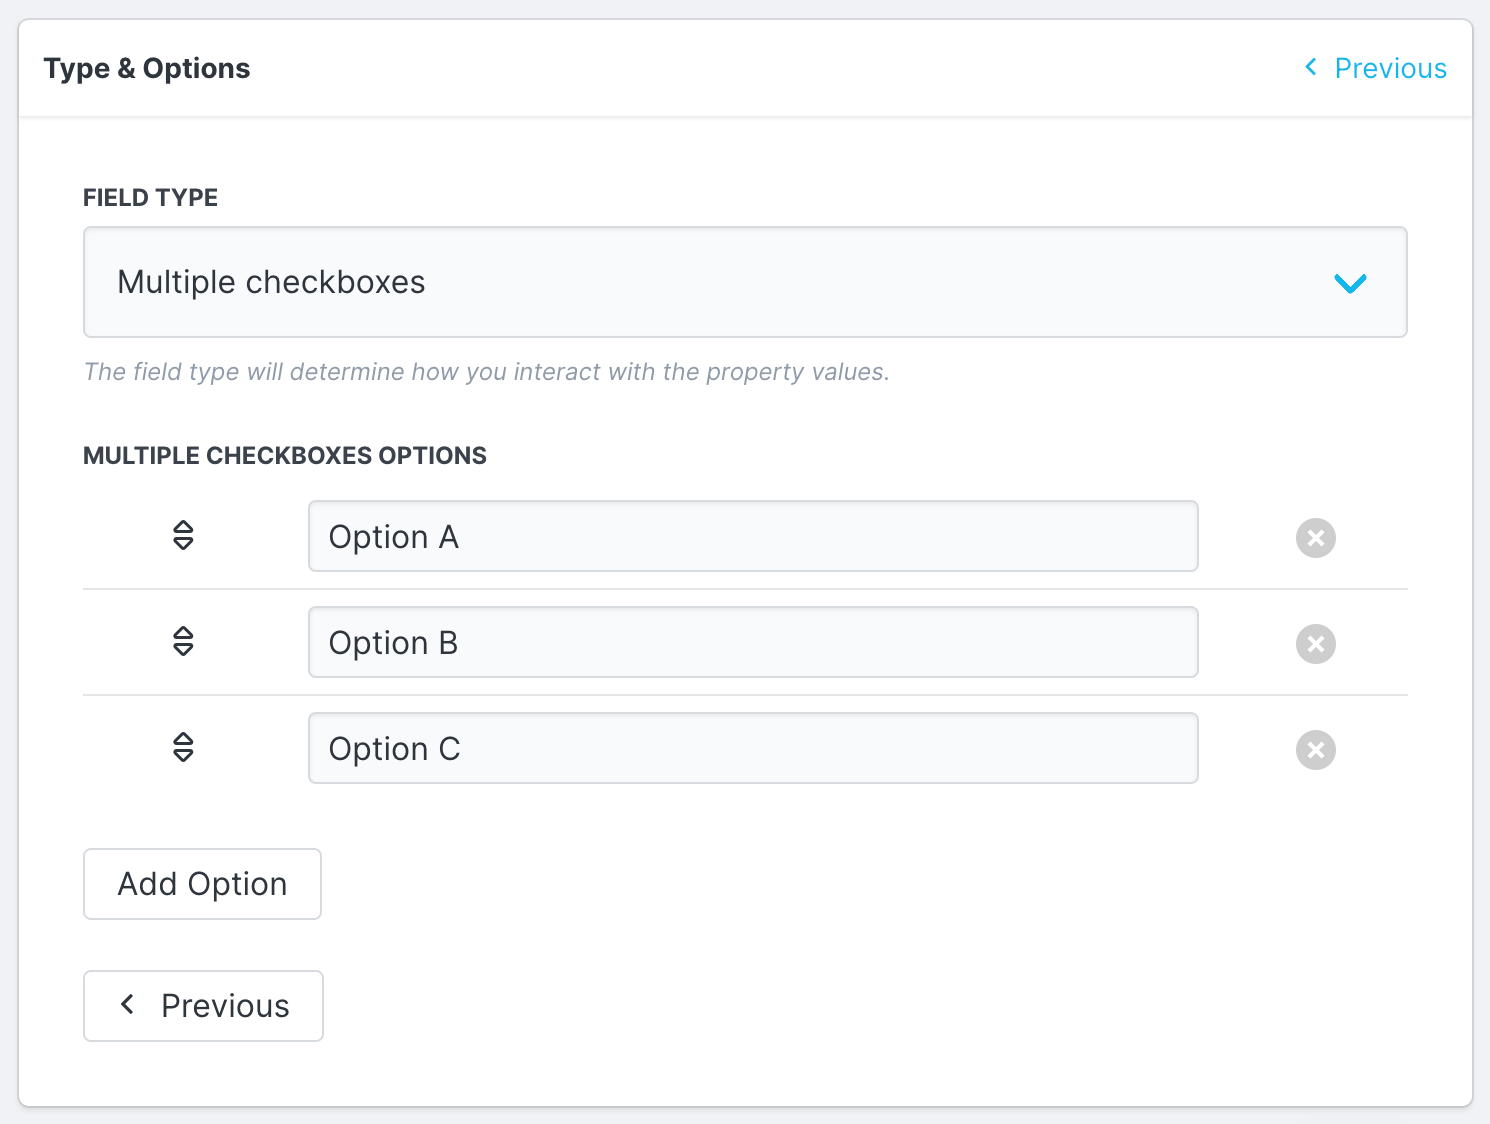
- Field Type: Choose the type of field you want the property to be. Different types will change how the creator answers the question. For example, the multi-line text option lets creators freely answer the question you ask with a long text answer, while the date picker only lets them choose and submit a date.
- Options: If you chose dropdown select, multiple checkboxes, or radio select field types, then you'll also need to provide the options creators can choose from when completing those field types. You can select the Add Option button to add more options as needed.
 An example of a field type with multiple options.
- Select Save.
Your new property has been created. Once you have one, you can add your Custom Property anywhere you can customize creator proposals when they apply to your programs. This includes:
- Activations
- Landing Pages
You can also filter any contact tables by your Custom Properties as well.
Was this article helpful?

