- 13 Sep 2024
- Print
- DarkLight
- PDF
Setting Up Affiliate Tracking with WooCommerce
- Updated on 13 Sep 2024
- Print
- DarkLight
- PDF
You can assign affiliate links to your creators and track how those links are used with affiliate tracking. With affiliate tracking, you can see how many page views, sales, and commissions your creator’s unique link has generated. This lets you not only easily pay out your creators, but track where your most successful conversions are.
Different ecommerce stores and websites have different steps for affiliate tracking. If you’re not integrated with WooCommerce or want to set up affiliate tracking on a website instead, check out our other articles on setting up affiliate tracking with Shopify or any website.
What You'll Need
- Admin access to your WooCommerce account.
How to Do It
You can set up affiliate tracking with WooCommerce via the App Marketplace or your Integrations Settings.
To set up affiliate tracking from the App Marketplace:
- Navigate to Account > App Marketplace. This will open the App Marketplace page.
- Find the Affiliate Integration by either:
- Searching “Affiliate Integration” in the search bar.
(2).png)
- Navigating to the Recommended Apps App Category.
(2).png)
- Searching “Affiliate Integration” in the search bar.
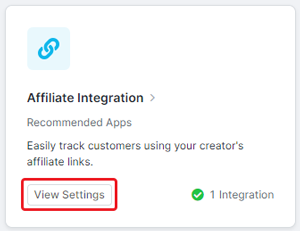
- Click View Settings on the Affiliate Integration app card. This will redirect you to the Affiliate Integration’s settings in your Integrations Settings.

To set up affiliate tracking from your Integrations Settings:
- Navigate to Account > Account Settings > Integrations. This will open a list of your current integrations.
- Click View Settings on Affiliate Integration. This will open the Affiliate Integration’s settings.
.png)
From here, the steps to set up affiliate tracking for WooCommerce are the same:
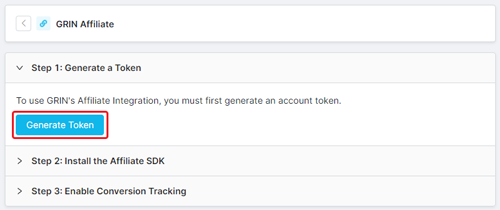
- If you haven’t generated a token yet, click Generate Token in Step 1: Generate a Token (if you’ve generated one before, you should see the token here instead).
 This will generate:
- Your token and the date it was generated.
- A copy button.
- A delete button.
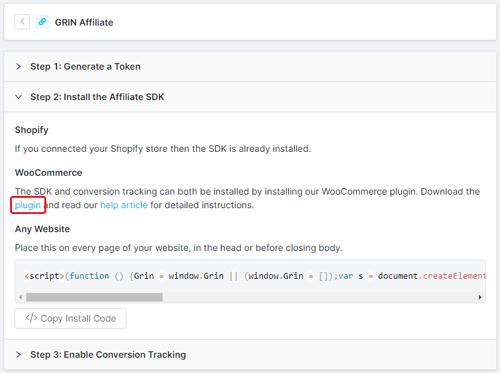
- Click Step 2: Install the Affiliate SDK.
- Click “plugin” under the WooCommerce section to download the GRIN’s WooCommerce SDK and conversion tracking plugin.

You can also download it by clicking this link.
- Skip Step 3: Enable Conversion Tracking. Conversion tracking can be enabled using the plugin you downloaded in Step 4.
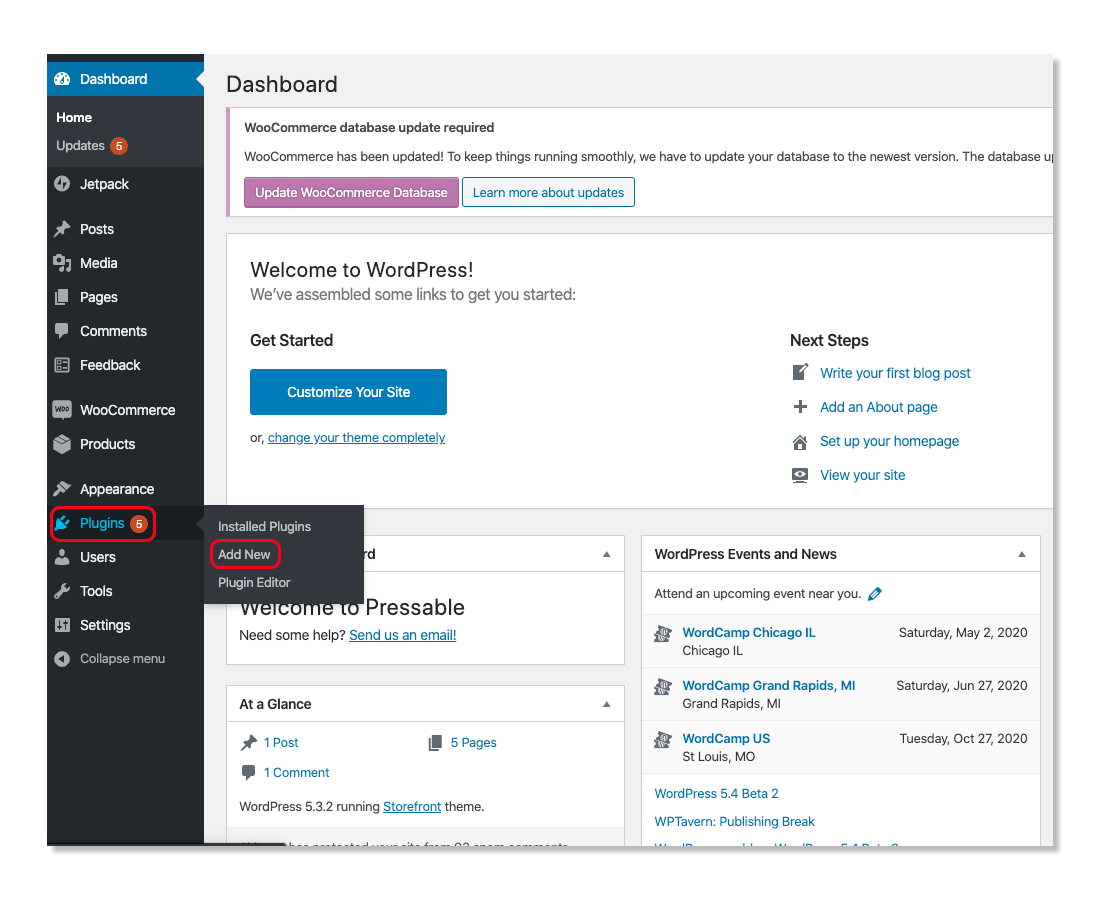
- Log in to WooCommerce.
- Navigate to Plugins > Add New. This will open the Add Plugins window.

- Click Upload Plugin.
- Click Choose file.

- Open the plugin you downloaded in step 4.
- Click Install Now.
That’s it! Once the plugin is installed, it should appear in a list of plugins as “GRIN WooCommerce Tracking”, and your WooCommerce account is now set up for affiliate tracking in GRIN. Check out our other articles on creating affiliate link groups and assigning them to your creators to start seeing your creators’ conversions.

